Thursday, April 26, 2012

May Day Baskets


My girls love anything involving leaving surprises on people's doorsteps.  Anytime they get to rush up to a door, leave something, and run back to the car equals a huge amount of fun in their eyes.  So, we decided to whip up some quick May Day baskets to leave on the grandparents' doors next week.


I started with some empty quart sized berry baskets.  These were used and quite faded, but I liked the color, so we went with it.


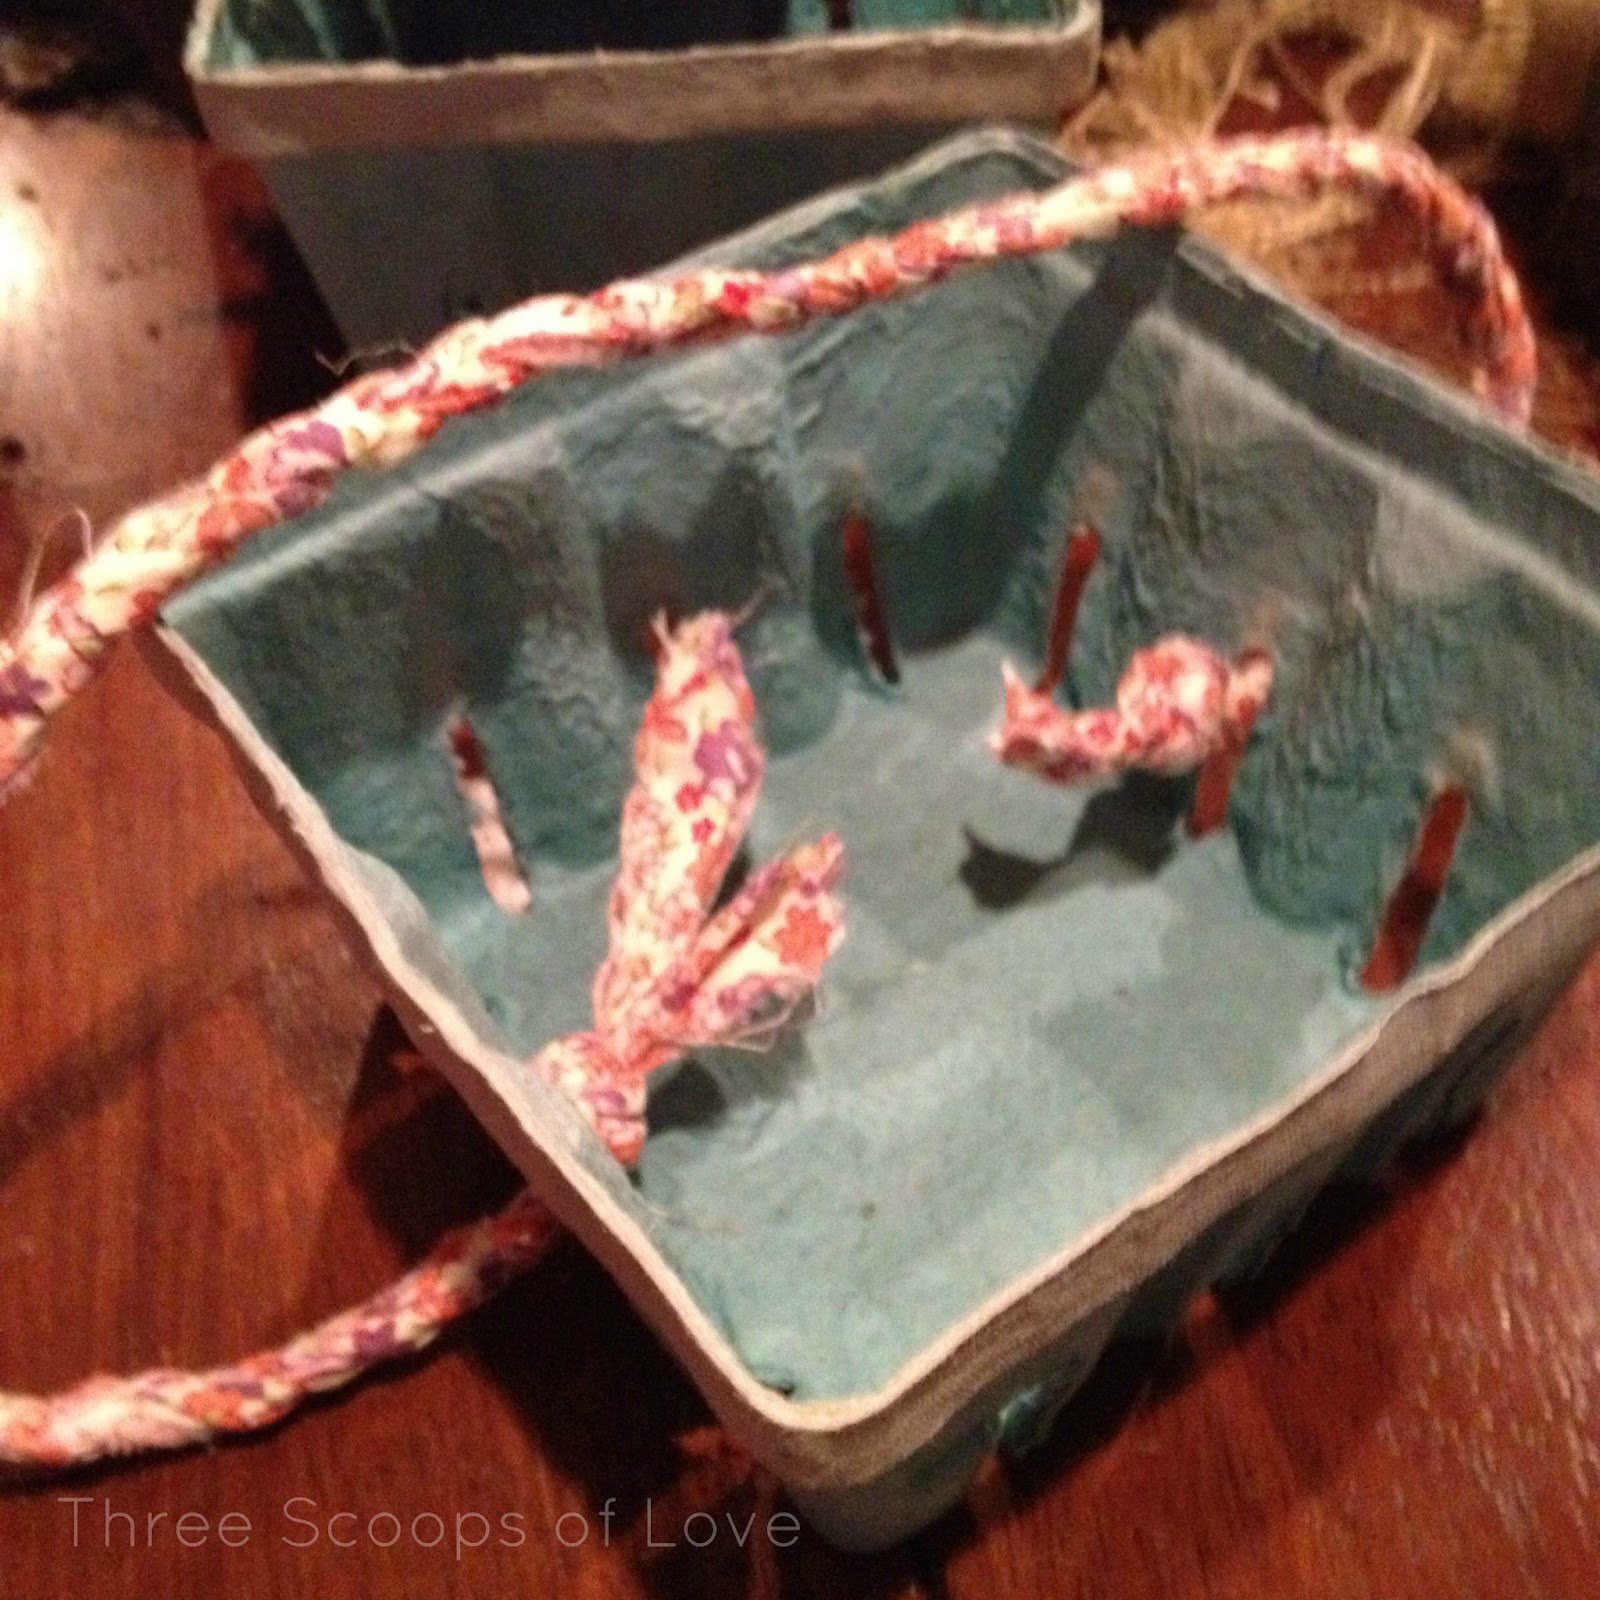
We braided some torn strips of fabric to make a handle, feeding it through some of the openings before tying a secure knot.


On others, we cut a strip of burlap for the handle.


I bought a flat of snapdragons and we cut the plastic containers apart so they would fit in the baskets better.  We were able to fit three seedlings in our baskets.  We added an anonymous greeting printed out on some scrapbook paper hot glued to a wood skewer.


The recipients will then be able to plant the flowers elsewhere and enjoy them.


We'll see if they can actually wait until May 1 to leave their treasures on the doorsteps.  Our loved ones may end up with an early May Day greeting!

Wednesday, April 25, 2012

Rainbow Dessert Stand

At my Rainbow Birthday Party for my 5 year old twins, we served a variety of desserts on a cute rainbow colored tiered stand.  I thought I'd show you a quick before and after.

These elements started out as tired, dated Goodwill finds that I usually wouldn't have given a second glance.  With a few light coats of primer and then spray paint, new life was breathed into them!

I let the plates, glassware, and wooden candlesticks cure for a few days after the paint was dry.  Then, I used E3000 glue to stick the pieces together.  I glued each candlestick to a plate and let that dry overnight and then glued it all together and let it dry overnight a second time.

Let me be perfectly clear, I completely understand that spray paint is NOT food safe.  I used paper doilies as liners on the two smaller plate tiers.  The bottom tier is an oval shape and I just couldn't get it to look quite right, so I just encouraged certain family members to eat those cookies.  Just kidding.  I just decided it wasn't that big of a deal to me and I went for it.  You can decide what you're comfortable with.  If I did it again, I would choose a round platter instead of an oval.

A few hints that might make this easier for you:
 - Use self etching primer made for metal or glass on your ceramic or glassware
 - Before applying your glue, line up your pieces and mark them with a pencil.  It's easier when it's not covered with sticky glue.
 - Try to find pieces that aren't super heavy.  Cheaper quality dishes seemed to be lighter.  You don't want the whole thing to be top-heavy.
 - Be patient!  This project requires a little planning ahead.  I spent a lot of time waiting between coats of spray paint and letting the glue dry properly.

I gently hand washed this after the party.  It seemed to hold up well.  However, I don't expect it to be an heirloom piece.  I spent less than $10 on thrift store items and used a lot of spray paint that I already had.  So considering the cost, I feel like I've already gotten my money's worth out of it!

Friday, April 20, 2012

Pop the Balloon Game


My girls requested that we play at a game at their recent rainbow themed birthday party, so I set out to create something simple that they would enjoy.  I started with a piece of scrap plywood from the garage and covered it with a plastic tablecloth that was an extra from the party decorations.  I just wrapped it around and hot glued it on the back of the wood.

I started out planning on making a rainbow shape with the balloons, but that was easier said than done.  If my original wood piece was bigger, this probably would have been easier.  Oh well, you get the idea.

The day before the party, I filled each balloon with a small prize before inflating it.  The smaller the object, the better!  This proved to be a harder task than I anticipated.  I used some really tiny party favors like plastic rings and necklaces, small animals, stickers, Tootsie Rolls, change, confetti, and a few lottery tickets that the adults enjoyed.  One trick I learned was to turn the uninflated balloon inside out on your fingers and then turn it back right side out once the prize is in place.  Think of it like you're folding a pair of socks.  I also went ahead and splurged on the $1.99 balloon pump.  Why didn't I buy one of those things sooner?  Much easier on my lungs.

Once they were all inflated and tied off, I just hot glued each balloon into place.  I wasn't sure if they would pop from the heat, but they all did just fine.  I just kept the glue onto the knot and the tied end of the balloon.

For the actual game, I used Sharpies to color each side of a die a different color.  When it was your turn, you rolled the die and popped a balloon of the coordinating color.  I couldn't find a thumb tack, so we ended up using a sewing pin.  A thumb tack with a little handle would have been easier. 

It was really simple, but the girls loved it!  I'm sure you would have to add a more complicated element for older kids, but it was a blast for 3 and 5 year olds and their adult guests!

Thursday, April 19, 2012

Easy Photo Backdrop


At my twins' rainbow party, I made a super quick backdrop so we could take some photo booth style photos with each of their guests.


When each guest arrived, the girls greeted them at the door and then we quickly snapped a photo before they got settled into the party.  People were then free to go back and take more photos later, if they wished, but it was an easy way to make sure that I got a picture of everyone with the birthday girls.

 I positioned the backdrop right in the entryway of our house.  There was plenty of natural light with the front door and its surrounding windows.  This also kept it out of the way of the rest of the party.

I found an extra piece of molding or trim in the garage and hot glued lengths of crepe paper party streamers around it.  We had a nice space between our mudroom and powder bath doorways, so I just rested the piece of trim above the door frames and it hung there nicely.  We added some clusters of bright balloons and we were set.

It would also be easy to add some hanging lanterns or other decorations to the trim piece.  We also had a bucket of props like sunglasses and hats available for guests, but the bright rainbow colors provided plenty of interest for our photos.

Wednesday, April 18, 2012

Rainbow Birthday Party


Our twins just turned 5 (eek!) and they requested a rainbow birthday party. I jokingly called it a Pinterest party because I felt like it was a breeze to plan with all of the fab rainbow party ideas people have pinned.  I'll share some details on a few of the ideas that were a bit more original.

 We set up a super easy photo booth backdrop with rainbow colored streamers.  I'll post more details on that later in the week. 
 I'll show you some before and after pictures of my rainbow cake stand.  Thrift store plates have never looked better with a little spray paint!

One of my favorite things about this party was my girls' involvement.  All three of them were really able to help make a lot of the decorations.  They really enjoyed being included and took a lot of pride in showing their guests their creations.

We typically just invite family to birthday parties, so my kids are usually the only kids present.  This time, they asked why we never get to play games at their parties.  So, I made up a quick game.  I covered a scrap piece of plywood in a plastic tablecloth and hot glued balloons on it.  Before I inflated the balloons, I added small prizes like candy, plastic jewelry, bouncy balls, coins, and a few scratch off lottery tickets.  I used Sharpies to color each side of a dice (die?) a different color.  When it was your turn, you rolled the dice and then got to choose a balloon of that color to pop and get the prize.  The girls insisted that the adults play as well and they were thrilled with their simple game.

In case you're interested, the girls' super cute tie dyed dresses are from the Etsy shop inspiring color.  They are great!  I highly recommend her items! They washed wonderfully and the colors are so vibrant.

I'll be back later in the week to share a few more details!

Tuesday, April 17, 2012

Multi Purpose Milk Box

We have a vintage metal milk box that lives in the corner of our powder bath. I picked it up at a garage sale for $5 about a year ago.  


I love things that serve multiple functions.  This little milk box holds a few basic cleaning supplies that I don't want to be visible on the shelf under the sink.  (Obviously, you would want to keep them in a more secure location if you have small children in the house who might ingest hazardous materials!)


I wasn't planning on it serving this purpose, but it didn't take long for my youngest to figure out that it also makes a handy step stool.  You will usually find it right smack in front of the sink instead of tucked away in the corner.  We're still working on putting it back in it's place.  :)

After I realized that this was going to become a habit, I stuck some felt furniture pads on the bottom so it wouldn't scuff the floor as she was dragging it.

It's not what I originally intended, but sometimes happy accidents are the best ones!