Wednesday, June 27, 2012

Barnwood American Flag


I wanted some patriotic decor for our mantel for the rapidly approaching Fourth of July holiday.  So, I went out to our pile of leftover barn wood that we used for our house siding and dug out some red and white painted pieces.  I cut a few pieces to the same length and scraped off any big chunks of peeling paint.
 
I attached some scrap pieces of plywood to the back to hold it all together.

I printed out a large star shape to use as a pattern and began hammering small nails around the outline of the star.  When finished, I ripped the paper away and was left with tiny nails that I didn't hammer all the way in.

 I used some navy blue yarn and tied one end onto a nail at one of the points of the star.

I kept wrapping the yarn from nail to nail, keeping the tension fairly tight on my yarn.  I found that it helped to wrap the yarn all the way around each nail, to keep it from slipping off.  When I was happy with my star shape, I went around the outside line one more time and connect all of the nails with my yarn before tying it off.

I set my primitive version of an American flag up on the mantel and our living room was ready to celebrate the Fourth!  I added a large star that I made by cutting some branches to the same length, then tying them together with twine. A stack of books, some glass jars, and an old bowling pin finished it off.

Tomorrow, I'll show you my little banner I made on the front of the mantel out of old bottlecaps.

I'll be linking up to the following parties:
 
Home Stories A2Z

Wednesday, June 13, 2012

Wood Slice Coasters

I was recently cleaning some things out in my studio and I ran across a box of wood slices leftover from the branches I cut for my vase and wreath project.  I contemplated throwing them out, but I decided I must be able to use them for something.

 I took a few of the larger ones and stuck some self-adhesive felt pads on the bottom.


I was left with a set of instant coasters.  I tend to take a glass of water upstairs every night, so I now I have a cute and functional coaster to set it on.  And the best part -- it was free and took literally 30 seconds.  I spent more time going out to the garage to look for the felt pads than completing the project.

Monday, June 11, 2012

The Power of Spray Paint


It's amazing how a few coats of spray paint can transform an ugly duckling, or creepy bunny.  I found this 80's bunny planter at Goodwill for $1.49.  I gave it a good cleaning, a coat of primer, and several light coats of yellow spray paint.  That simple change took it from yuck to elegant.

 Paired with a tiny succulent plant, it provides a pop of color on the countertop in the girls' bathroom.


My husband says it's still a little creepy, but I think it's somewhat better without the eyes looking at me.  :)

You gotta love quick, easy, and cheap changes.

Monday, June 4, 2012

Picking up Chicks

 Last week, a day we had anticipated for several months finally came.  Our post office called to say that our mail order chicks had arrived!  We were waiting at the door when the post office opened.  We could hear their sweet little cheeps before we even saw the box.  The looks on the girls' faces was priceless.

 We've had a few days to get to know each other.  Our mudroom has been taken over by chick paraphernalia.  I no longer have sleepy girls climbing into my bed when they first wake up.  Instead, I hear soft footsteps bounding down the stairs to greet their chicks a good morning.

 We have 11 of these new little ladies in our life.  Unfortunately, one still seems to be a bit under the weather.  For now, she's separated from the rest while we give her some special attention.

 Grace is especially smitten with the chicks.  She loves feeding them by hand, holding them, reading books to them, and drawing pictures for them.

 Madeline likes the chicks, but would really be happy just to look at them and not touch.  She agreed to this photo if "the creepy claw feet wouldn't touch her."

 They've definitely been a learning experience for us all.  I've got way more up close and personal with these chicks than I ever imagined I would.

 Our chicks are Easter Eggers, so we have a mix of different shades of brown and one little yellow gal.  It will be interesting to see if their color now corresponds to their feather color as adults.

Lily is still a little unsure.  She likes them, but they scare her a little when they run or start flapping their wings.

Guess what you'll be seeing soon on the blog?  That's right.  The makings of a chicken coop.  These ladies grow FAST, but we have a few weeks until they're ready to be outside in the coop on their own.  Time to turn that pile of wood into a cute coop!

Wednesday, May 30, 2012

She's About to Pop!


In July, I'm going to become an aunt.  My sister-in-law and brother are expecting their first baby, Isaac, and we're all very excited to welcome him to our family.  My other sister-in-law, Lisa, and I planned a baby shower a couple of weeks ago.  We decided on the popular "She's About to Pop!" theme and scoured Pinterest for ideas.  

We used shades of blue, turquoise, and green along with lots of circles in our decor to stick with the pop theme.  There are a ton of fabulous ideas out there for this theme, so I'll just highlight a few of the things that we added our unique twist to.

I think that the cousins-to-be might be more excited than anyone!


I decided that the large space above our mantel needed some baby shower love, so I got an engineer's print made at Staples with a picture of the mommy and daddy.  I used spray adhesive to mount it to a large scrap piece of plywood.  The print was less than $3, so it was an inexpensive way to add a big impact piece.  I also pulled an old skid out of my dad's burn pile.  I put it there a few months back after I was experimenting with ways to take the wood apart.  I gave up on that, but resurrected the skid when I needed a way to hang up letters for Isaac's name.  The letters are a combination of salvaged sign letters and wooden letters from the craft store that I painted and distressed.  I borrowed my brother's old teddy bear and tiny baseball cap from my mom's cedar chest for some sweet personalization from Isaac's daddy.


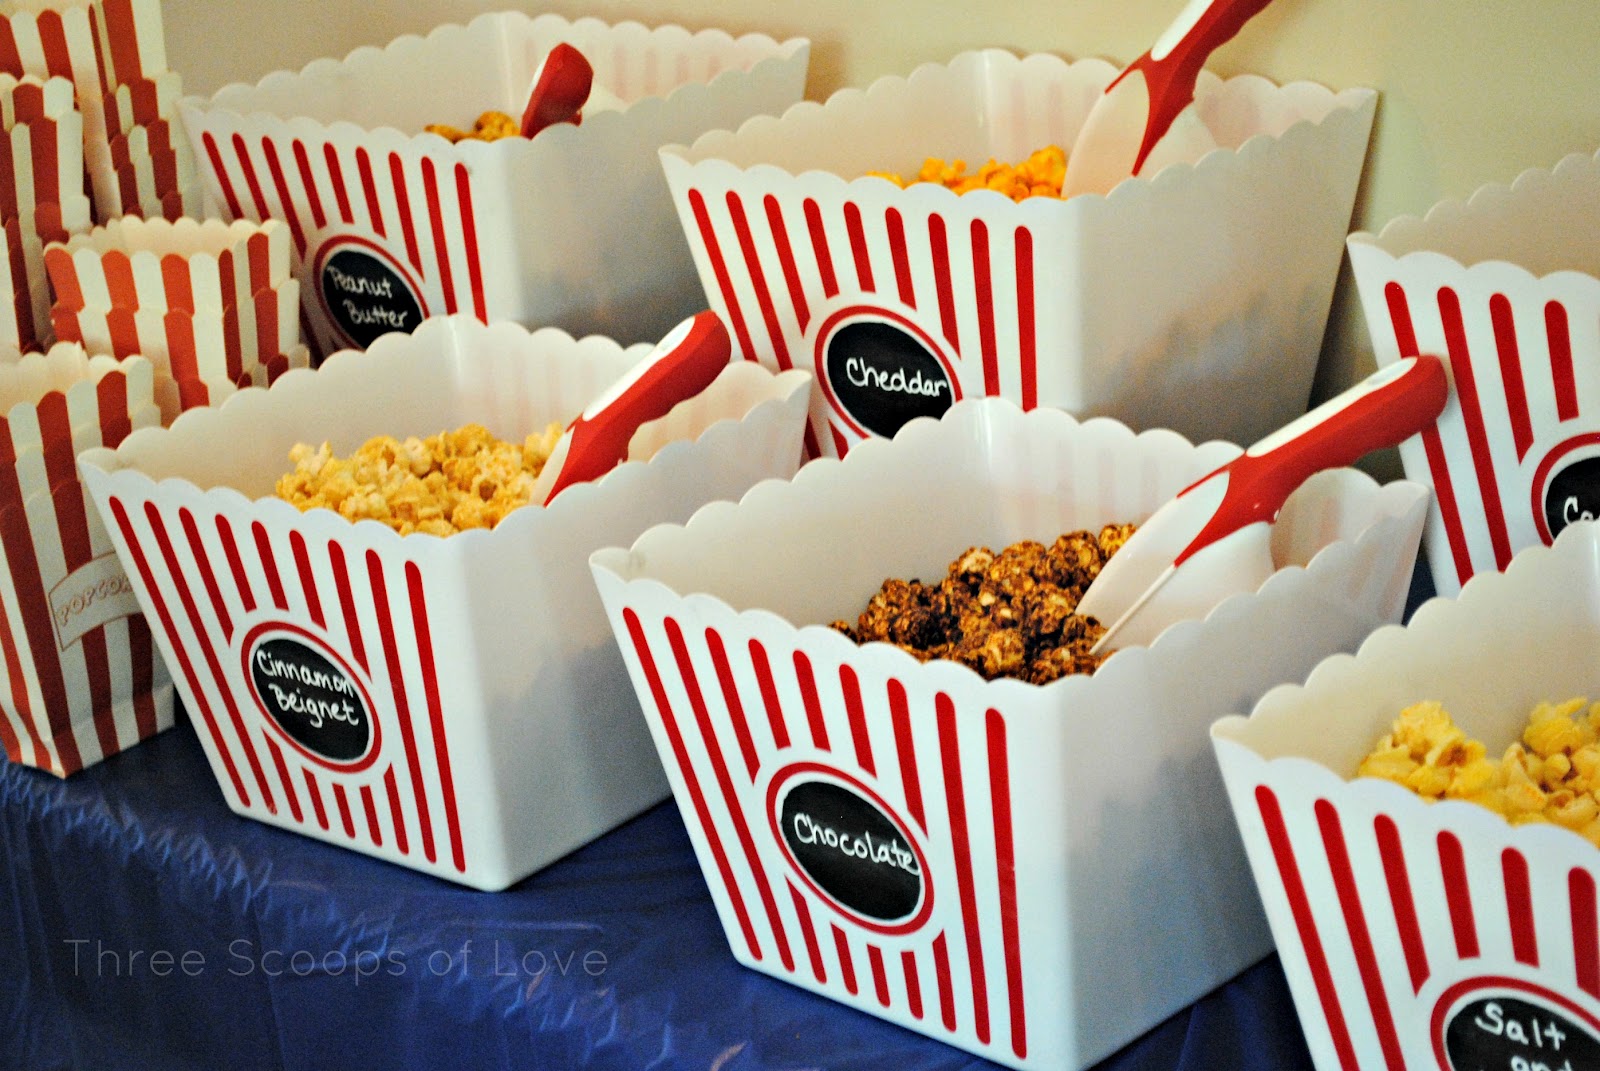
Our shower was in the afternoon, so we didn't serve a complete meal.  We tried to make each food work with the POP theme.  However, I neglected to take a picture of the actual food.  Our menu consisted of popcorn chicken (from Chick Fil A), Popeye's spinach dip, fruit pops (fruit on bamboo skewers), and jalapeno poppers (from the frozen food section at the grocery).  On the dessert table, we had cake pops, push pops, and Snap, Crackle, Pop! Rice Krispie Treats.  Lisa made all of the cake pops and push pops and they were the definite hit of the shower.  She did a great job!

I was trying to come up with a way to serve a large number of cake pops and still make it look nice.  I was playing around with the idea of putting styrofoam in a box or container when my mom suggested pool noodles.  Have I mentioned that she is a genius???  I ended up finding blue and green pool noodles at the Dollar Tree and cut them with a serrated knife to fit just inside the opening in my buffet cabinet.  We stacked them and hot glued them together and added a scrap board on the bottom for some extra weight.  Then, we took a small screwdriver and punched holes for the cake pop sticks.  The noodles held them perfectly!

Behind this display, I added the bottom section of the skid from the mantel that I cut off with a jigsaw.  These letters are also a combo of salvaged sign letters and painted/distressed wooden craft store finds.

We enjoyed some yummy popcorn from Cornival Popcorn Shop and guests took some home as favors.  We used six different flavors of popcorn and put them in chalkboard paint labeled buckets from the dollar store.  I found the red and white scoops at Dollar Tree, as well.

Instead of playing games, we had all the supplies for our guests to decorate a onesie for baby Isaac.  My mom prepared fabric iron-ons ahead of time and we had plenty of buttons, paint, fabric markers, etc. available so people could be creative.


 I was a little worried about this project. I was afraid that people would be reluctant to participate, but our family and friends did an awesome job!  Look at those cute onesies!

Before we know it, we will be seeing a cute, squishy little baby in those clothes!  I can't wait!


Tuesday, May 29, 2012

Chalkboard Popcorn Buckets

At my sister-in-law's baby shower, my other sister-in-law and I wanted to offer several different flavors of popcorn as snacks and take-home favors for our guests.  I had seen the idea on Pinterest where people used large glass jars and labeled them, but I didn't really want to shell out the money for additional glass jars.  I mentioned to my mom that I saw some cute plastic popcorn buckets at the Dollar Tree.  They were a good size, but I really wanted to be able to label the different flavors in a cute way.  My mom, being the genius she is, immediately suggested chalkboard paint.


 I decided to give it a whirl, but I left one side as is, just in case the chalkboard paint didn't work.


I started by tracing an oval shape on clear contact paper and cutting it out.  I cut my oval slightly smaller than the oval on the bucket.


After pressing the contact paper down, I masked off the rest of the bucket with paper and painter's tape.  I first sprayed a coat of plastic primer on the bucket.  Then, I did a very light coat of spray chalkboard paint.
Here's what I had after the second coat.  I thought it was looking pretty good until I pulled the contact paper off.

 I quickly realized that my masking job wasn't so good. I had a lot of overspray and some of the paint had seeped under the contact paper.  I started wiping it off with some Goo Gone on a paper towel and, much to my pleasant surprise, it all came off!  I was even able to touch up around the oval with the edge of paper towel.

I'm guessing that since those areas didn't have the plastic primer, it made the paint almost wipe right off.  I let the chalkboard paint cure for a few days before writing on it.  After the shower, I hand washed the buckets and the chalkboard labels held up just fine!

Wednesday, May 9, 2012

Stamped Garden Markers


We've been hard at work getting our vegetable garden started in the backyard.  In the meantime, we put in a couple of small raised beds right off the back patio for herbs.  I wanted a fun way to label the herbs and I have seen lots of people use jewelry stamps on old spoons for garden markers.  When I searched around the internet, it seemed like most people were flattening out the spoon before stamping and a few people had done the same on forks.
 

When I headed out to my local Goodwill in search of some utensils, there was a wide selection of butter knives, but very few spoons and forks.  At the high price of 5 for $1, I figured I would give it a try.  I tried to pick out knives that had a flat-ish area on the handle for stamping.


I stamped the knife handles just as I would any jewelry piece.  The only real difference was that I had to hit them HARD.  The thickness of the handle made it more difficult to get a good impression.  I only ruined one knife in the process.  It was more rounded than I realized and I couldn't get it to lay flat enough to get a good hit on the stamp.

After stamping, I went over the letters with an industrial Sharpie and polished them off with a silver polishing cloth.


I think they look so fun stuck in the dirt by the herbs!  It almost looks like someone is in the process of eating them all up!  I'll give you an update later in the summer to see how they're holding up.  I'm curious to see if the letters will still be readable and if the knives themselves will get too tarnished.  At $2 for the entire project, I'll be happy if they only last for one year!