After moving in and getting settled in our house, our plans were to use some of the leftover
Richlite from our kitchen countertops to cut a small countertop for our pantry. Well, it didn't quite go as planned and we ended up not having a big enough piece for the pantry.
We planned on using this small cabinet space in the pantry as an extra workspace. I wanted a work surface that could be out of sight if we were having a party or something. The space was roughly 24"x36". We thought about just going to Lowe's and ordering a small laminate top, but I then I thought about all of the
leftover wood flooring we had from the rest of the kitchen, dining, and entry area. I figured it was worth a shot to make a rustic countertop out of the reclaimed barn flooring. After all, it wasn't going to be a high traffic area, there's not a sink involved, and it was already paid for. I figured that if it doesn't work, I can always replace it with a laminate countertop in the future.
I cut my boards to length and made sure they were all even. I sanded everything at this point before it was put together. The reclaimed barn flooring is very uneven, so it's easier to sand it in pieces. I used the tongue and grooves edges to snap it all together. For my edge trim pieces, I cut some of the boards down in width and mitered the corners.
I lugged the whole thing over to my parents' house where my dad helped me secure it all together with his nail gun.
Soon after this, I was perusing Pinterest when I ran across
an idea from 3 Sun Kissed Boys to use jewelry stamps on wood. I pulled out a scrap piece of barn wood flooring and started experimenting with my jewelry stamps. I was really hoping to use one of my typewriter style fonts, but they were just too small. The letters got lost once I polyurethaned over them. So, I ended up using one of my larger stamp sets. Wood stamps a lot different than metal! You don't have it hit it as hard and you definitely only want to hit each letter once.
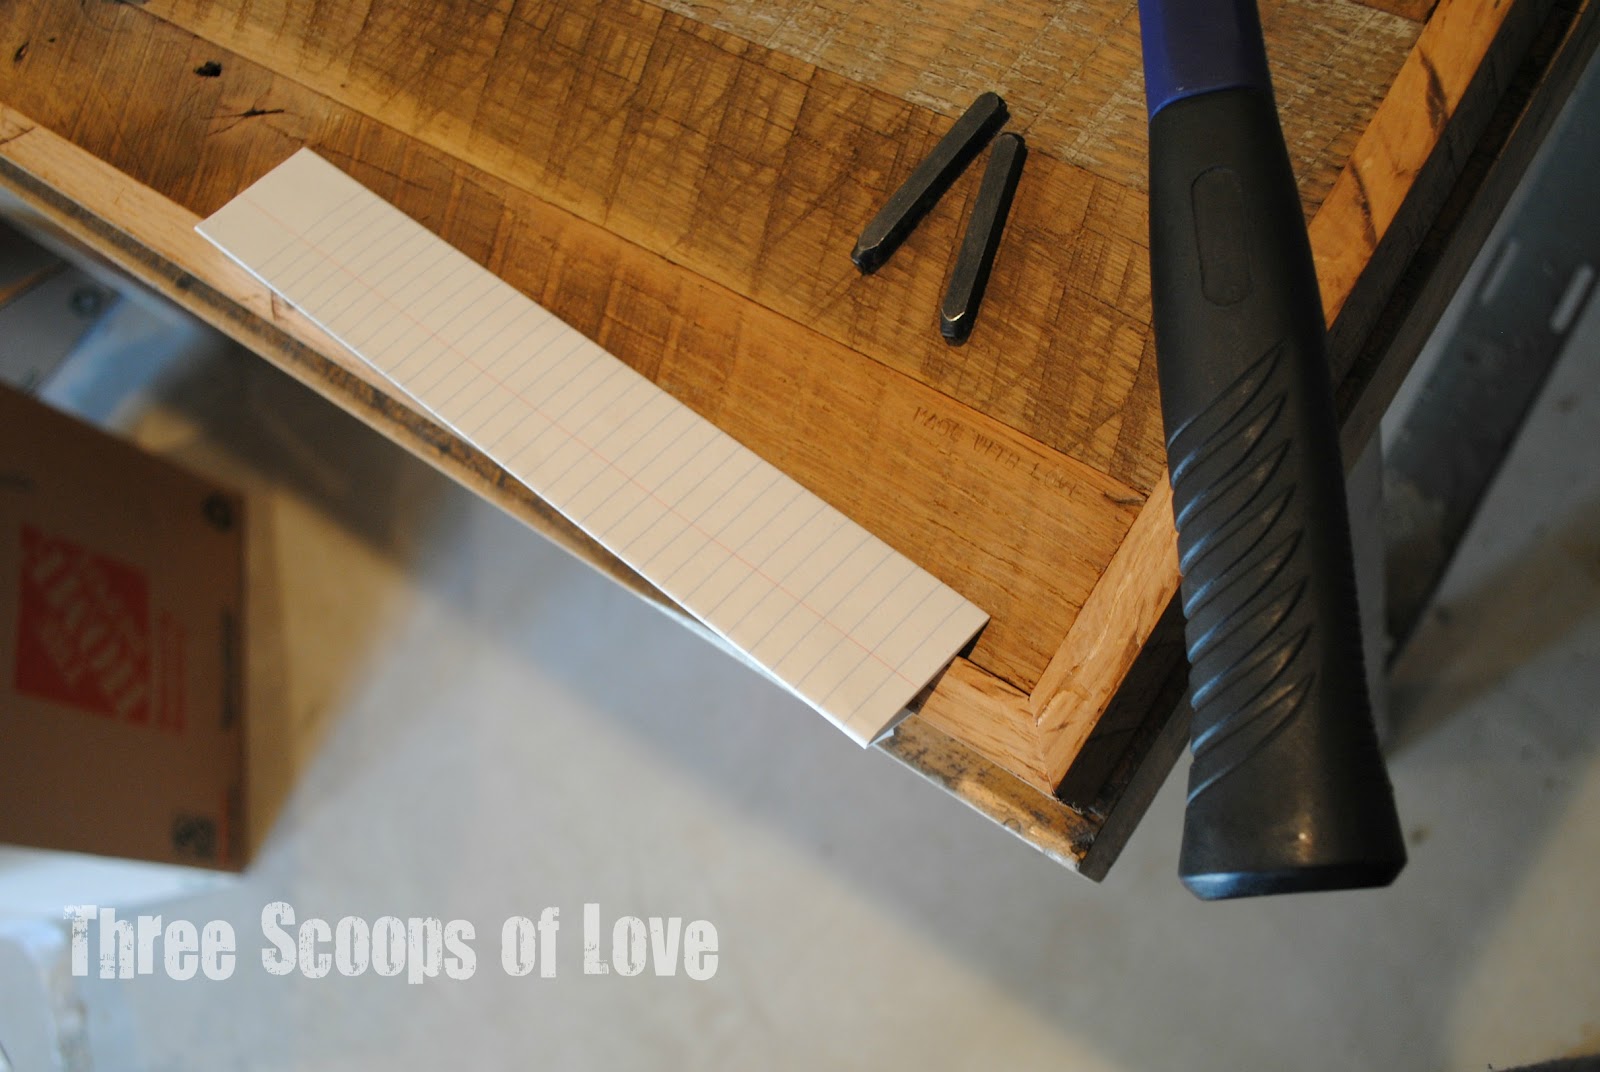
I wanted to make sure that I got a fairly straight line for my quote, so I folded up a piece of paper to use as a guide. I would definitely recommend writing your quote or words down on a piece of paper. I was aligning my quote to the right, so I actually stamped it backwards, starting with the last letter of each word. When you're staring at those letters for a while, they can start to look wonky and all wrong, so it's helpful to have it written down.
For my stamping, I chose "Everything tastes better when it's made with love." I thought it was fitting for our pantry because I'll see it when I really don't want to take the time to make something from scratch. As I was stamping the words, I kept thinking about one of the first times I came home from college my freshman year and my mom's green beans tasted like the best food I had ever eaten. It's sad that it took some cafeteria food to make me appreciate my mom's effort.
After I stamped my words, I gave the whole thing a coat of floor polyurethane (because that's what I had on hand). I then took an Ultra Fine black Sharpie and lightly went over the letters once the polyurethane was dry. I added another coat of poly and touched up my letters once it was dry. The stamping doesn't jump out at you. It's still very small and most people won't even realize it's there, but it's a quiet reminder for me of one of my priorities. I've already seen my girls running their fingers over the letters
Ta-da! A countertop for my pantry using things that I already had. It always makes your project sweeter when you don't have to spend money on it!