Friday, October 14, 2011

The Easiest Classroom Snacks Ever

When I signed up to bring in treats for my daughters' preschool class for their Pumpkin Patch Day, I was determined to NOT bring in something full of sugar.  Then, I started actually thinking about what to bring and I was stumped.  Cupcakes and cookies were everywhere and seemed to be the logical choice.  I also wanted to stick with the pumpkin theme of the day and several kids have food allergies, which made things a bit more challenging.


When I saw the giant boxes of fruit cups at Sam's Club, I knew they would work for my pumpkin theme.  Cups of mandarin oranges plus a black permanent marker made for an easy pumpkin treat that was a lot healthier than a sugar filled dessert snack.  I just freehanded a cute little smiley pumpkin face on the side.  I suppose you could also cut out some vinyl with your Silhouette and stick on the side of the cup.  Peaches would also work for an orangey pumpkin.


I added a green spoon and a pumpkin napkin and the kids seemed happy with their snack.  They didn't seem to miss the sugar and the other moms were appreciative.

Friday, September 16, 2011

Goodbye, House!

We closed on our house today, hence the absence of blog updating on my part.  Even though we were preparing for this move for a while, it was a long week of packing, moving, purging, and cleaning.
---------------------------------------------------------------------

Goodbye, house.  It's hard to leave the place you've called home for the past five years.

Goodbye front door that welcomed all three of my babies home from the hospital.

Goodbye toilets that I alternated between on the first weekend we lived here when I had severe food poisoning and workers were busy installing things.  I'll just go ahead and mention that we had been trying to conceive our first child for almost two years at that point and we knew that I was ovulating during that lovely food poisoning.  The twins were born 8 1/2 months later.

Goodbye dining room table where I was determined to make my first pieces of stamped jewelry.  (The new owners bought the table with the house.)  All future Three Scoops of Love jewelry up to this point has been lovingly crafted at that table.

Goodbye landscaping pavers around our little water feature.  The weekend we installed you, I felt strangely nauseous every time I bent over.  The next day, we got the biggest surprise of our lives when we found out we were expecting Lily.

Goodbye house numbers on the outside brick.  I was so proud of you when we moved in.  We had a real house with real address numbers built in to the house.

Goodbye sadness! Hello to a new chapter of life!

Hello to our dream house.

Hello to a fresh start.

Hello to living with just the essentials for the next three months.

Hello to family bending over backwards to help us out with moving, building a house, and having a place to live.

Hello to the opportunity to teach our kids that "home" doesn't mean the roof over your head, "home" means being with the people you love.

Monday, August 29, 2011

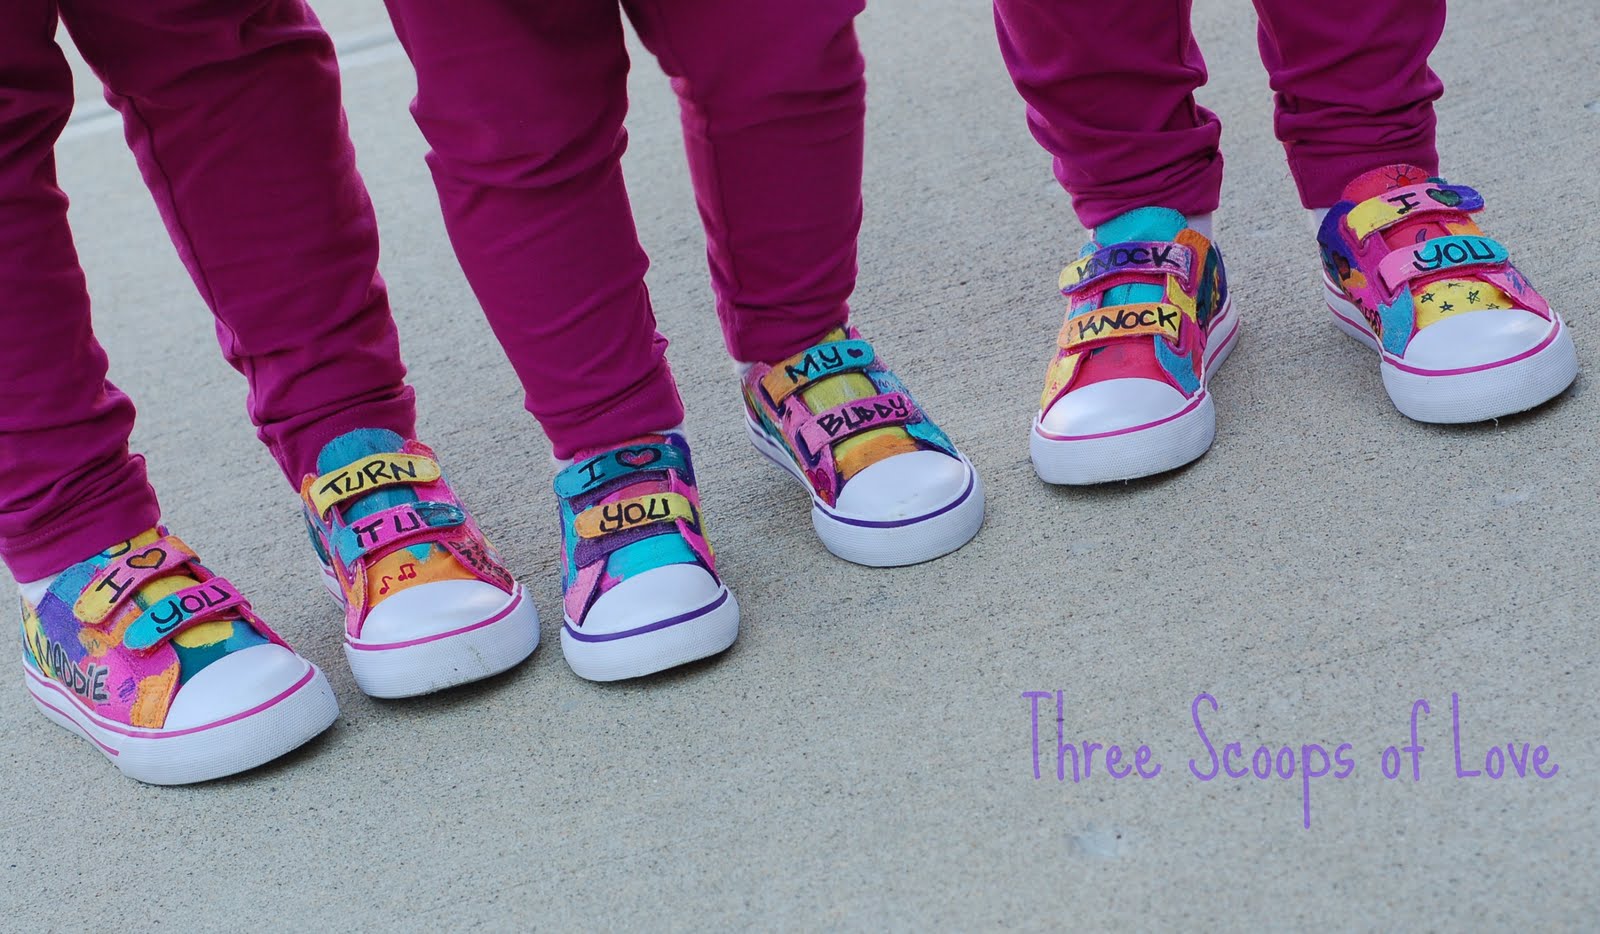
Graffiti Shoes


When I first saw Ashley's Graffiti Shoes tutorial at Lil Blue Boo, I knew that I had to make some for my own girls.  Fast forward to a year later and I'm finally getting around to it.


The hardest part of this project for me was finding the solid color canvas shoes.  I wanted velcro closures and I had trouble finding them in sizes big enough for my twins.  Apparently, they have large feet for their age.  I finally turned to ebay, where I found several choices of brand new, solid color canvas shoes.


I took Ashley's advice and started with a basecoat of white acrylic paint.


I then began adding random blocks of color.


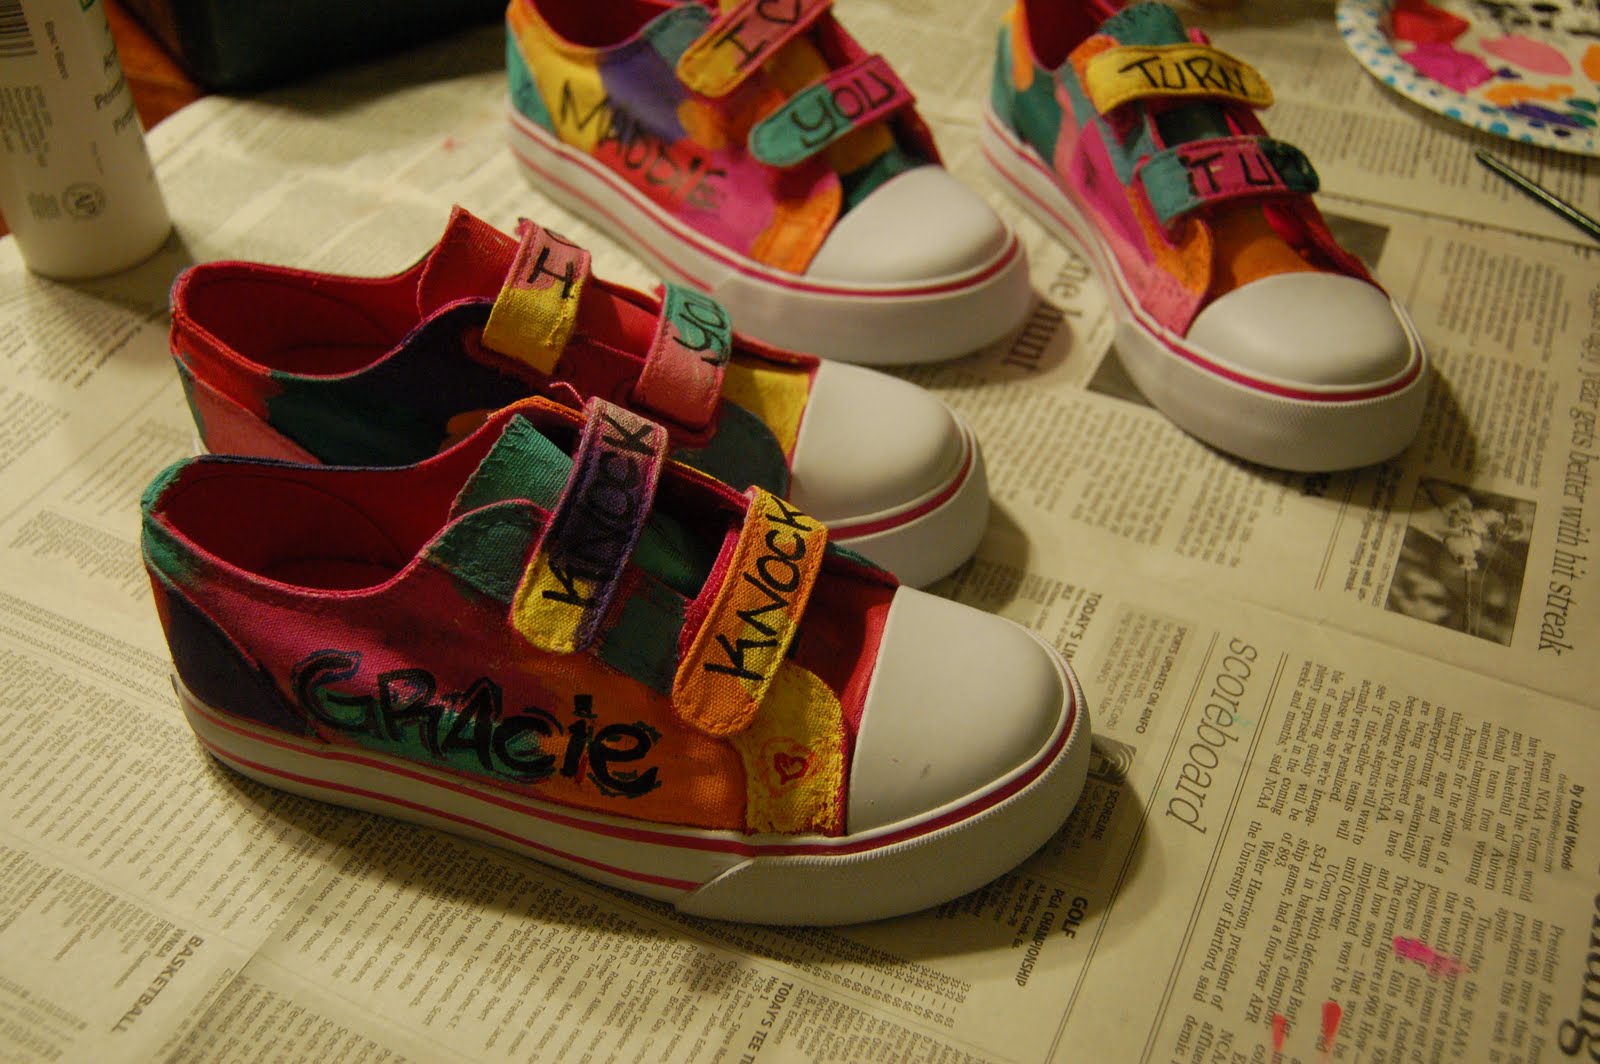
After layering lots of different colors, I used a black Sharpie to add in my lettering.


Then, I turned the three amigos loose and let them draw and color all over the shoes.  They obviously loved this part the best.  They're normally not allowed to use permanent markers, so this was a pretty big deal.

At this point, I wished that I had used tape to mask off the sole of the shoe, like Ashley did.  I was being lazy and just wanted to get started, so I skipped that step.  It would have helped the girls, who weren't quite as careful with the markers.

After the girls were done, I went back and cleaned things up a little.  I added in some more words and doodles.  I used a silver Sharpie to outline some of the words, which really made them more defined.  Once I was happy with them, I added some clear glitter paint to select areas and let them dry overnight.  All three pairs then got two coats of clear acrylic sealer and they were ready to wear!


I love how personal these shoes are!  Not only do they have the girls' names, they could pick some things to write on the shoes.  When Grace decided she wanted "I love my sisters" on her shoes, I just melted into a puddle.


The more I added to the shoes, the more comfortable I got with it and the better they looked. 

I discovered that I liked the look of having some of the doodles and words run off the edge of the shoe.  I think it looks much more interesting that way.


Some helpful hints I discovered:
 
-Take the time to tape off the sole of the shoes.  It's better to spend the time masking them off, rather than trying to clean paint or permanent marker off.

-You can't put too much on the shoes.  Layer the paint over and over again.  Keep adding more, even when you think you're finished.
 
-I wish that I had outlined more of the words in silver Sharpie.  It really made them stand out.

-Even though you are covering most of the shoe in paint and marker, think about the original color of the shoe you're starting with.  I think Lily's dark purple shoes turned out better because they were darker than the twins' pink shoes.

-You really can't make a mistake.  You can paint over anything and re-do it!

Sunday, August 28, 2011

Lollipop Printable


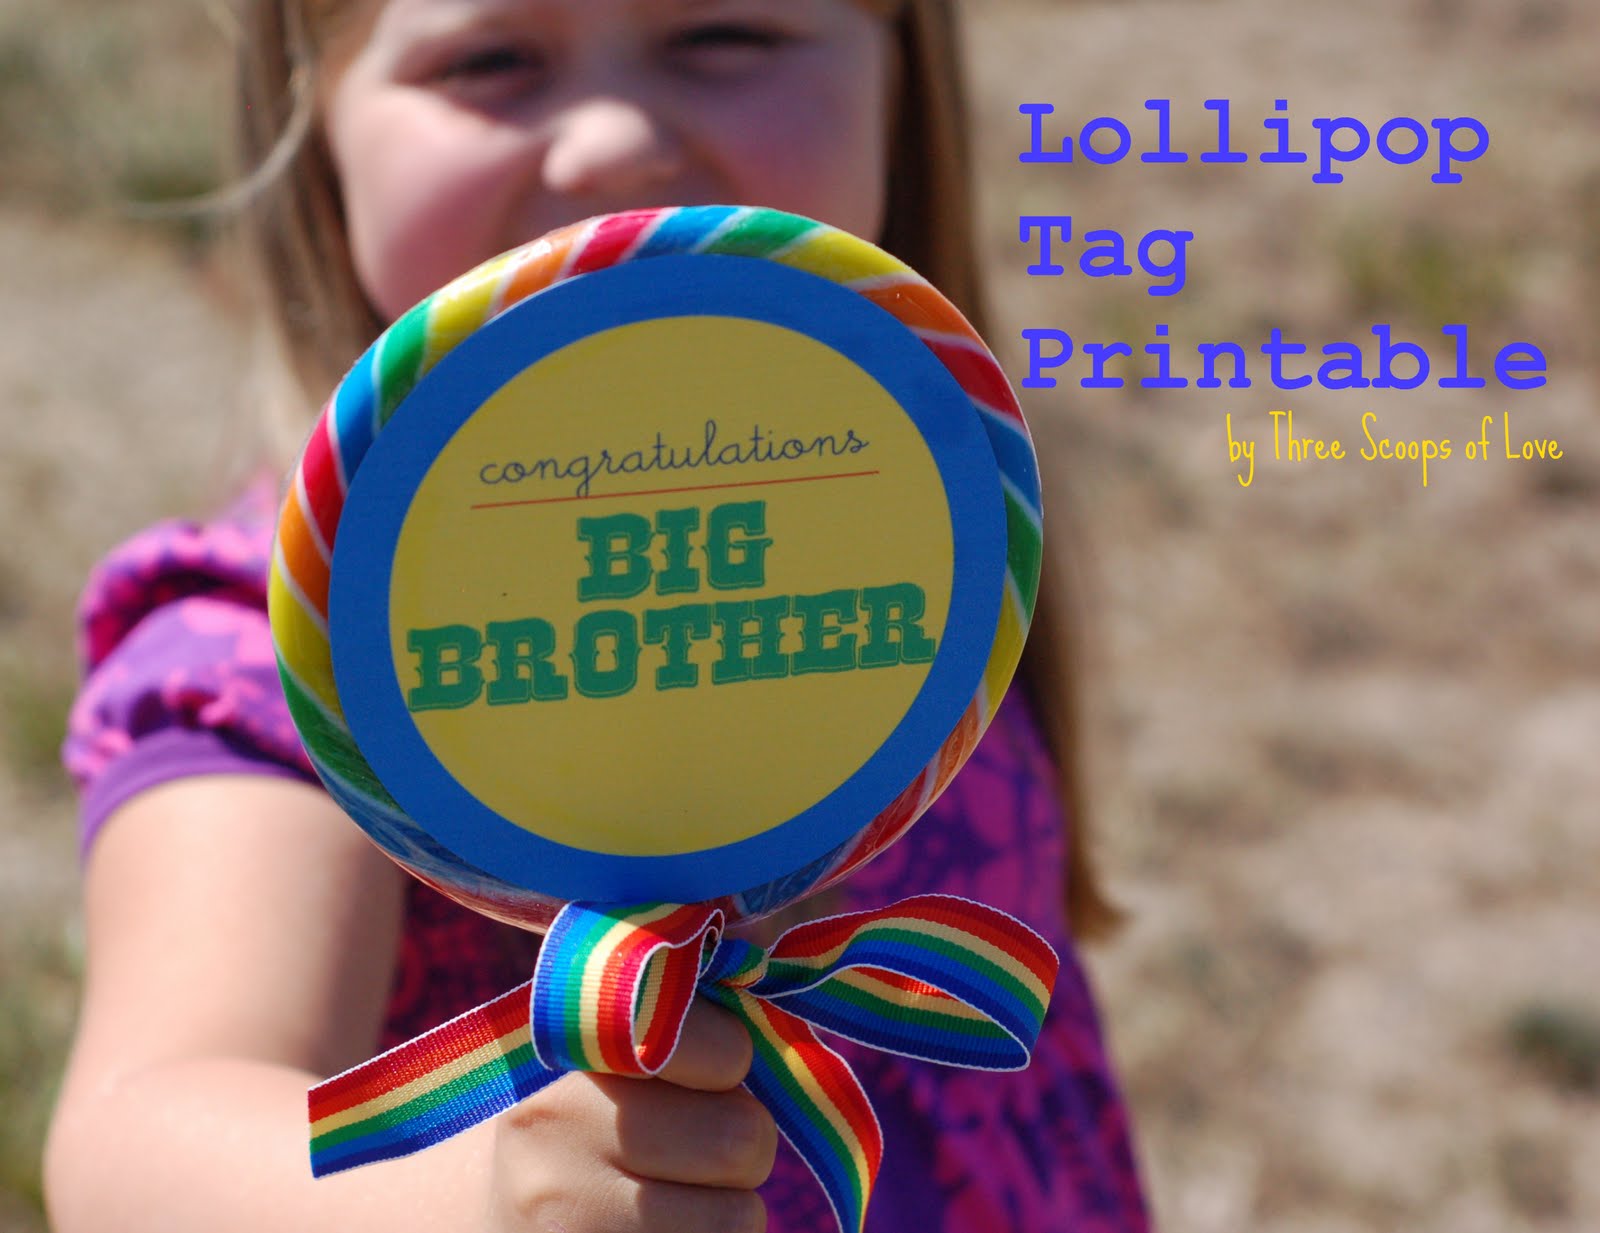
Recently, some good friends of ours were blessed with their third child, a sweet little girl.  I wanted to come up with a small gift to take to big brother and sister when we went to meet the baby.  I quickly remembered seeing these giant rainbow colored lollipops at the Dollar Tree a few months back.


I picked up a couple there, but I have since noticed that our local Walgreen's also sells these for $1.


If you'd like, you can download the Big Brother and Big Sister label here.  Simply cut out the round shape and use some double sided tape to stick it on.  Add some cute ribbon and you have a very affordable, but very cute, gift for an older sibling!


If you're downloading the label for your own use, please take a second and become a follower of Three Scoops of Love.  Thanks!

Of course, these could really be used for any gift-giving occasion, so I also made Happy Birthday and Get Well Soon labels.  Download the second page here.


I really loved how these gifts turned out for our friends, but the best part of the day was getting to meet this little sweetie!  Don't you just want to cuddle her?

Wednesday, August 24, 2011

Printable Birthday Tag


Everyone needs a little something on their birthday, right?  My girls love to acknowledge people's birthdays with cards and gifts, so I came up a super affordable little gift for them to share with their preschool classmates this year.

We started with packages of bouncy balls from Target.  They had different size packages in the party favor section, but they all worked out to be a quarter each.  I've also seen packages of bouncy balls at the dollar store. I let the girls pick out their favorite designs and then we put each one in small Wilton treat bag.  These particular ones were 3x4 inches and came in a package of 50 for $2.99.


Print out your handy dandy bag topper, cut it out, fold it half, and staple or glue to your bag.  Simple as that!
 

There are a ton of ways you could use this printable tag.  I also thought it looked cute with these dollar store gumballs.  If you were giving a toy gumball machine, you could punch a hole in the tag and tie it on.  How about a sleeve of golf balls or any kind of sports ball?

How else could you use this?  I bet there are a lot of other creative ideas out there. As for us, we now have a little box in the closet filled with our small birthday gifts for classmates, ready to hand out throughout the year.  Have fun with it and let me know if you use it!

Tuesday, August 23, 2011

Quick and Easy Flashcards


Anytime I see an interesting set of flashcards at a dollar store or the Target Dollar Spot, I snatch them up.  Once I have a few new sets accumulated, I use a hole punch to punch a hole in the corner of each card.  Then I take them to our local teacher supply store to get them all laminated.  I've found that's the cheapest place for laminating around here.  On my last trip, I had five sets of flashcards laminated and it was just over $9.

Once they're laminated, I cut them all out and re-punch the holes with the hole punch.  This part is a bit tedious, but it makes me feel like I'm back in the classroom, and it's worth it because it makes them so much more durable for little hands.


Bundle your set of cards together with a binder ring and you're good to go!


These are great to throw in your bag or keep in the car.  We use them at church, on car trips, at restaurants, basically anytime we need a quiet activity.


My girls also like to write on them with dry erase markers or crayons.  They practice tracing letters, color, and circle things.  The marker or crayon will wipe right off with a paper towel on the laminating.

Saturday, August 20, 2011

Pencil Hairclips


After making the colored pencil hairclips, I thought it would also be cute to use regular pencils.  For these, I cut them a bit longer, 1 1/2", just to get the look I wanted.  Same as the colored pencils, I glued them to a ribbon covered alligator clip, and voila!